DIY Delight: How to Install Wall Panels in 5 Easy Steps
Dreaming of a fresh, updated look for your space? Wall panels are a fantastic way to add texture, dimension, and style to your walls – and the best part is, you can install them yourself!
So ditch the expensive contractor and grab your toolbox. Here's how to install wall panels in just 5 easy steps:
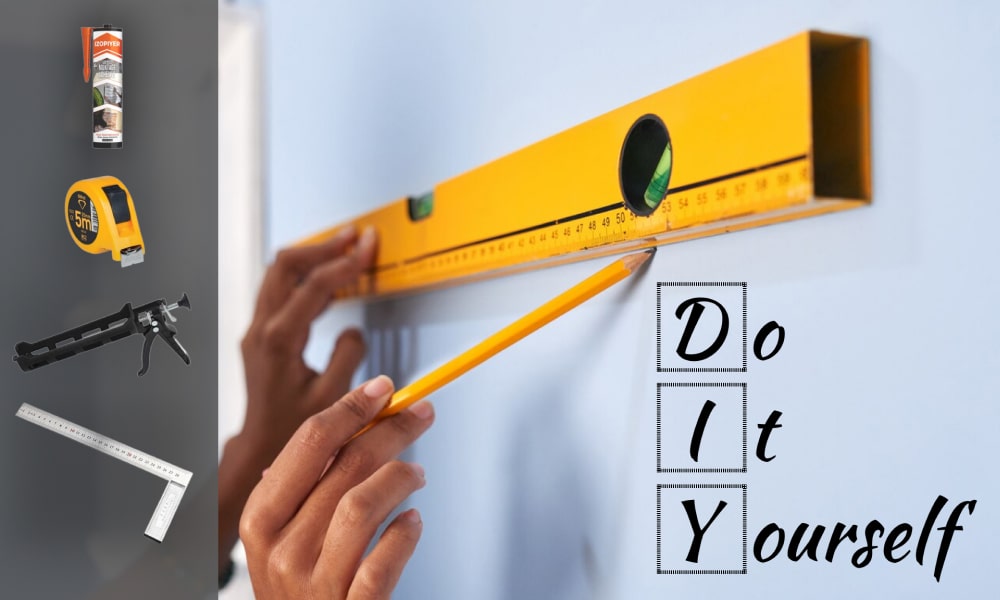
1. Gather Your Supplies:
Before diving in, make sure you have everything you need. Here's your shopping list:
- Wall panels (measure your wall space to determine how much you'll need)
- Level
- Pencil
- Tape measure
- Utility knife
- Construction adhesive (appropriate for your chosen wall panel material)
- Optional: Power miter saw (for clean cuts on corners)
2. Prep Your Walls:
- Clear the area: Remove furniture and anything hanging on the walls.
- Clean the surface: Wipe down the walls with a damp cloth to remove any dust, dirt, or grease.
- Fix imperfections: Patch up any holes or cracks in the wall to ensure a smooth, even surface for the panels.
3. Plan Your Layout:
- Measure and mark: Measure and mark the starting point for your first panel on the wall. Use a level to ensure it's straight.
- Plan the layout: If you have multiple panels or patterned panels, dry-fit them on the floor to visualize the layout before attaching them to the wall.
4. Attach the Panels:
- Spread the adhesive: Apply a generous amount of construction adhesive to the back of the first panel, following the manufacturer's instructions.
- Place the panel: Carefully position the panel on the marked spot on the wall and press firmly.
- Repeat: Continue adhering panels one by one, ensuring each one is level and aligns seamlessly with the previous one.
5. Finishing Touches:
- Cutting corners: If you have corners to deal with, use a miter saw for precise cuts (a sharp utility knife can also work for some materials).
- Let it cure: Allow the adhesive to cure completely according to the manufacturer's recommended drying time.
- Trim if needed: Once cured, you can use a utility knife to trim any excess paneling around outlets or fixtures.
Pro Tip: If you're feeling adventurous, consider painting your wall panels for a completely customized look!
Voila! With a little planning and effort, you've transformed your space with beautiful wall panels. Now sit back, admire your handiwork, and enjoy the satisfaction of a DIY project well done!